Uncategorised
What Is Lensball Photography?
Jun
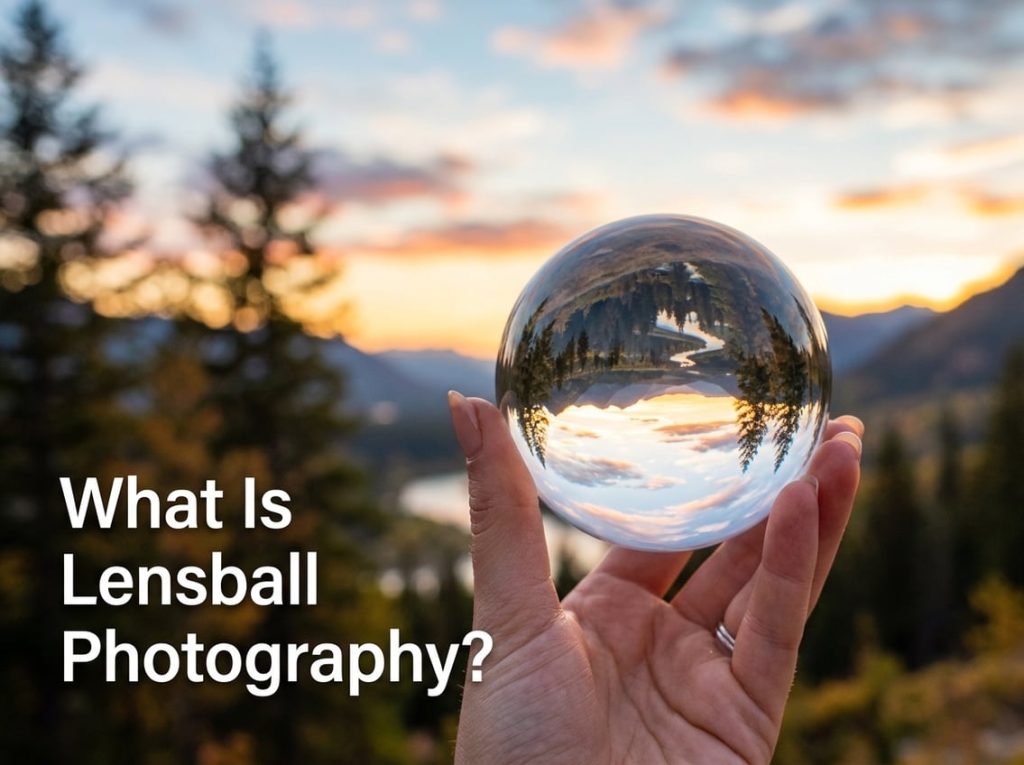
If you’ve ever scrolled past a photo of a tiny, perfectly framed landscape floating inside a glass sphere and wondered how on earth someone made that — you’ve already met lensball photography.
It’s one of those techniques that looks technically complicated but is actually accessible from day one, even with a smartphone. The steep part isn’t the gear. It’s learning to see the world through a sphere — and that’s what makes it genuinely interesting.
Here’s everything you need to know to understand what lensball photography is, why people love it, and whether it’s worth picking up.
What Is a Lensball?
A lensball is a solid sphere made from optical-grade glass or K9 crystal, typically between 60mm and 80mm in diameter — roughly the size of a billiard ball or a little larger. It sits between your camera and the scene in front of you and acts as a natural lens, refracting light to project a miniature, spherical version of the world onto itself.
The result is a self-contained image: the scene behind and around the ball is captured inside it, framed by the glass. One photograph contains two worlds — the sharp, inverted scene inside the sphere and the softer, real-world environment surrounding it.
That’s the whole concept. Simple in principle, endlessly interesting in practice.
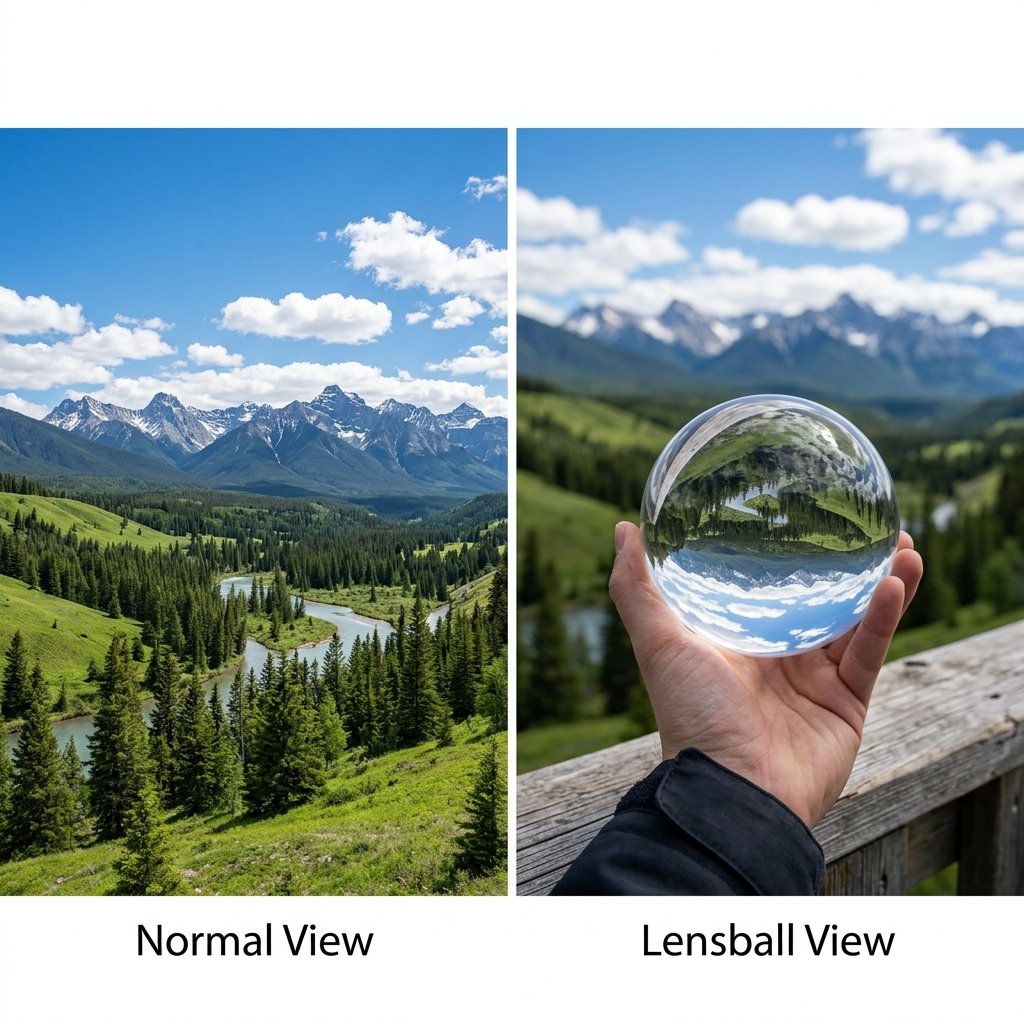
Why Does the Image Appear Upside Down?
This is the first thing most beginners notice, and it surprises nearly everyone.
When light passes through a curved glass surface, it bends — a process called refraction. As light rays enter one side of the sphere and exit the other, they cross at a focal point inside the glass. By the time the image forms on the far side of the ball, it has flipped both horizontally and vertically. The result is an inverted image: the sky appears at the bottom, the ground at the top, and everything is mirrored left to right.
You have two options: shoot it upside down and flip the sphere in post-processing (a single crop-and-rotate in Lightroom takes seconds), or learn to compose deliberately with the inversion in mind. Most photographers do both depending on the shot. Either way, understanding why the image inverts is the foundation of working with a lensball — once it clicks, everything about composition and focus starts to make sense.
What Makes It Different From Other Photography?
A lot of photographic techniques reward speed — being in the right place at the right moment, reacting fast, catching light as it changes. Lensball photography is the opposite. It slows you down.
Finding the right position takes time. The ball needs to be held or placed precisely, the focus point chosen carefully, and the background considered as much as the sphere itself. You’re composing two images simultaneously: what’s inside the ball and what surrounds it. That deliberateness is part of the appeal.
It also changes how you see familiar locations. A park bench, a city intersection, a rocky shoreline — all of them look different when you’re scouting for how they’ll refract. Leading lines that converge toward the ball, symmetry that frames the sphere cleanly, colors that contrast between inside and outside the glass — lensball photography trains your eye in ways that carry over into everything else you shoot.
And honestly, it’s just satisfying in a way that’s hard to explain until you’ve done it. Getting a clean, sharp, well-composed sphere shot feels like solving a small puzzle. The results tend to stop people mid-scroll in a way that straightforward landscape shots don’t always manage.
What Kinds of Shots Do People Take?
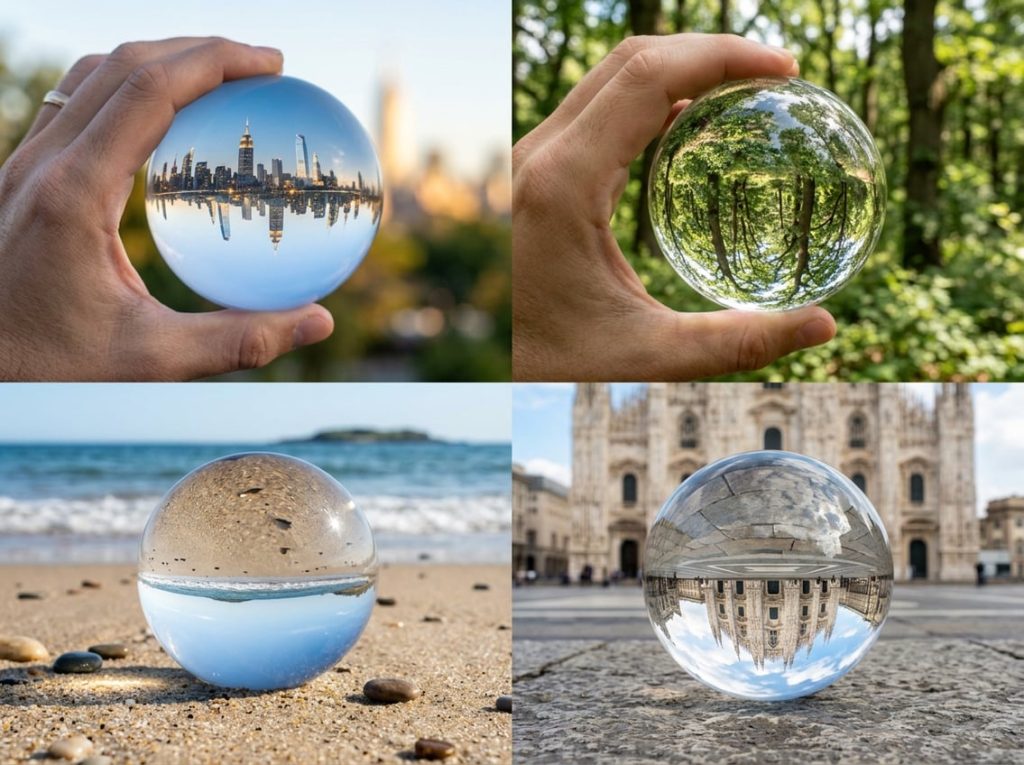
The short answer: almost anything, as long as there’s something interesting to refract.
The most popular subjects tend to be cityscapes (skylines and architecture compress beautifully inside the sphere), beaches and coastlines (the horizon line inside the ball creates a natural composition), forests and woodland (trees create strong leading lines converging into the glass), and golden-hour landscapes (the warm light and long shadows make for particularly rich refractions).
Architecture works especially well — symmetrical buildings, arches, and doorways give you strong geometry to play with. Rainy days and puddles open up reflection-within-reflection possibilities. Abstract close-ups, where the ball magnifies texture or light rather than a recognizable scene, produce results that feel more like fine-art photography than traditional landscape work.
The variety is part of what keeps it interesting long-term. You’re not locked into one type of location or light. The same ball produces completely different results depending on where you take it.
What Gear Do You Need?
Less than you might think.
At minimum: a lensball and a camera — including the one on your phone. Smartphones can produce genuinely good lensball images, particularly in good light, because the depth of field at short distances renders the sphere sharply without much effort on your part.
For more control over focus, depth of field, and low-light performance, a dedicated camera with a mid-range zoom or a macro lens opens up more possibilities. The ball itself matters more than the camera: a cheap sphere with visible bubbles, scratches, or poor optical clarity will limit your results regardless of what you shoot it with.
We’ve broken down exactly what to look for — and what to avoid — in our dedicated guide to [choosing your first lensball →]. If you’re just getting started and not sure where to spend your budget, that’s the right place to go next.
Is Lensball Photography Hard to Learn?
Honestly: there’s a real learning curve, but it’s not steep.
The first few shoots tend to produce the same set of frustrations. The photographer’s reflection appearing in the glass (fixable with angle and positioning). The image inside the ball going soft while the background stays sharp, or vice versa (a focus and aperture issue). The ball rolling away at the worst possible moment. These are almost universal beginner experiences.
None of them take long to solve once you know what’s causing them. The reflection problem has a straightforward fix. The focus issue becomes intuitive once you understand the optics. The rolling problem is solved by a small stand or a natural surface.
Within a handful of sessions, most beginners move from “why does nothing look right” to “I know exactly what I’m trying to get.” The technique rewards persistence in a way that pays off quickly.
Where to Go From Here
If lensball photography sounds like something you want to try, here’s the most direct path forward.
If you don’t have a ball yet: Start with [Choosing Your First Lensball →], which covers sizes, materials, what to spend, and what to avoid. It’ll save you from the most common first-purchase mistakes.
If you already have one: Head to [Camera Settings That Work →] for a quick, practical guide to getting sharp results from your first shoot, and [Composition Inside the Sphere →] to understand how to build a strong image before you press the shutter.
If you want a shortcut: Grab the [free shot recipe pack →] — 10 specific, ready-to-shoot setups with locations, settings, and composition notes. It’s free and it’ll give you something to aim for on your next time out.
Lensball photography is one of those techniques that looks impressive, takes real skill to do well, and is genuinely enjoyable to practice. The best way to understand why is to try it.